
Coffee Enema Guide & Tips
Why Do a Coffee Enema?
Coffee enemas are a proven and effective way to cleanse the colon, detox the liver, and remove toxins from the body. They are an amazing tool for general health maintenance and the majority of my clients utilize them alongside their protocols. Coffee enemas are a great way to support the body during detox as they can help reduce die-off symptoms and detox reactions like nausea, abdominal discomfort, headaches, fatigue, and more.
Benefits of Coffee Enemas
Stimulate the release of bile and toxins from liver
Double the detoxification rate of intestines
Reduce inflammation in the liver and intestines
Promote activation of the parasympathetic nervous system (rest and digest mode)
Inhibit growth of cancer cells
Improve gallbladder contraction by up to 33%
Increase glutathione by 600-700%
Act as a natural pain reliever
Cleanse the blood and improves circulation
Supports the immune system
Improve peristalsis and help heal the digestive tract
How to Do a Coffee Enema
Step 1: Prepare the Coffee Solution
Items Needed
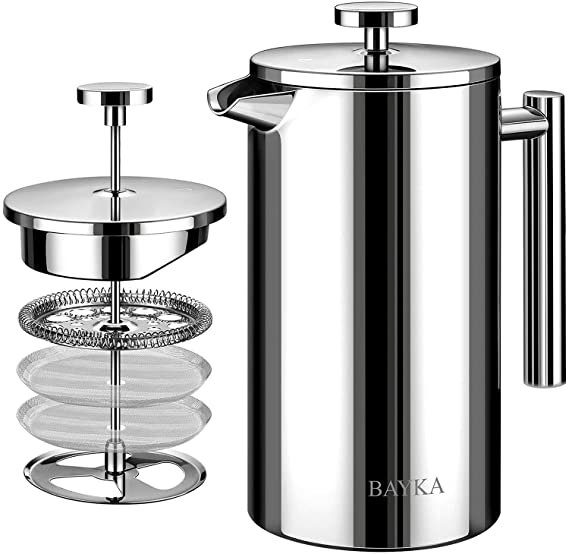
Saucepan or French press
4 cups distilled or filtered water
Up to 4 tablespoons coffee grounds
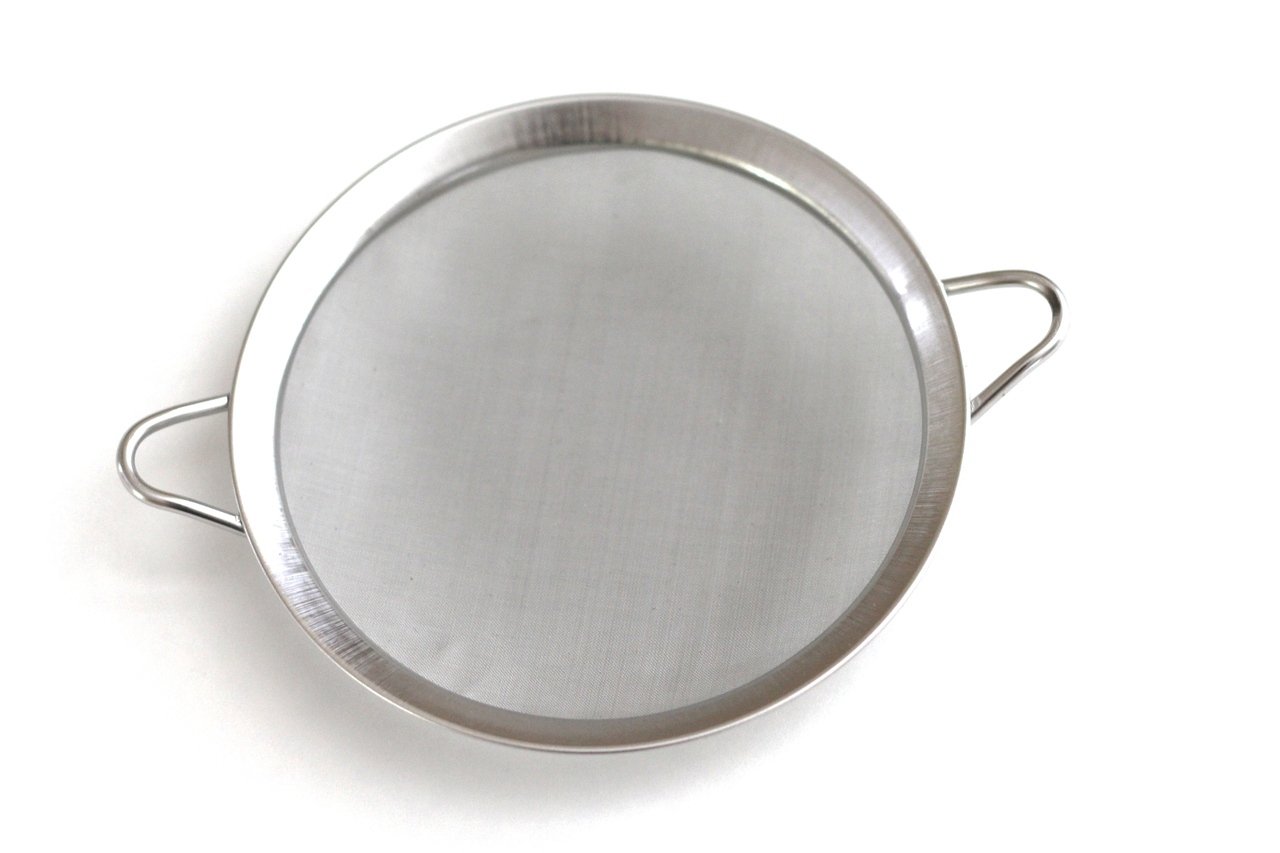
Small mesh strainer
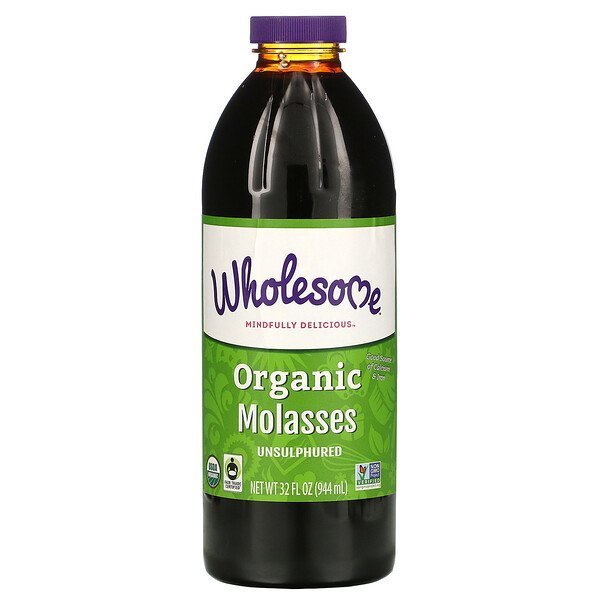
1 tablespoon organic molasses optional
Directions
Add water and coffee grounds to saucepan and bring to a boil
Boil for 5 minutes
Reduce heat and simmer for 10-15 minutes
Strain coffee grounds using a small mesh strainer
Stir in molasses
If using a French press:
Add coffee grounds, molasses and boiling water to French press carafe and let sit for 20 minutes before pressing
Step 2: Set Up Your Space
Supplies Needed
Coffee enema bag or bucket with hose, clamp, and tip
Coconut oil or other lubricant
Spot in bathroom to lie down
Coffee enema solution cooled to body temperature
Towels
Directions
Pour the cooled coffee solution into a clean enema bag/bucket *double check to make sure the clamp is fully closed before pouring it in
Hang or place the enema bag/bucket a few feet above where you are laying to allow for proper flow
Using a couple of towels, make a comfortable spot to lie down on
Remove air from enema hose – release the clamp and allow any air pockets to flow out
Lubricate the enema tip/attachment with a small amount of coconut oil
Step 3: Perform the Enema
Get comfortable on your towel and insert the enema tip about 6” into rectum
Once the enema tip is in place, lie down on your right side
Release the clamp and allow about half the solution to flow in. Use the clamp to adjust the rate of flow to a speed that is comfortable for you.
Close the clamp and set a timer for 20-minutes. You can remove the tip or leave it in until you expel the solution.
At the end of the 20-minutes, expel solution into toilet *it’s okay to expel sooner if you have to — not everyone can hold it for the full 20-minutes
Repeat with second half of solution
Step 4: Clean, Bind, and Replenish
Make sure to clean your enema kit after each use by taking it apart and scrubbing thoroughly with hot water and soap. You can also run hydrogen peroxide through it. Wait until it is fully dry to store.
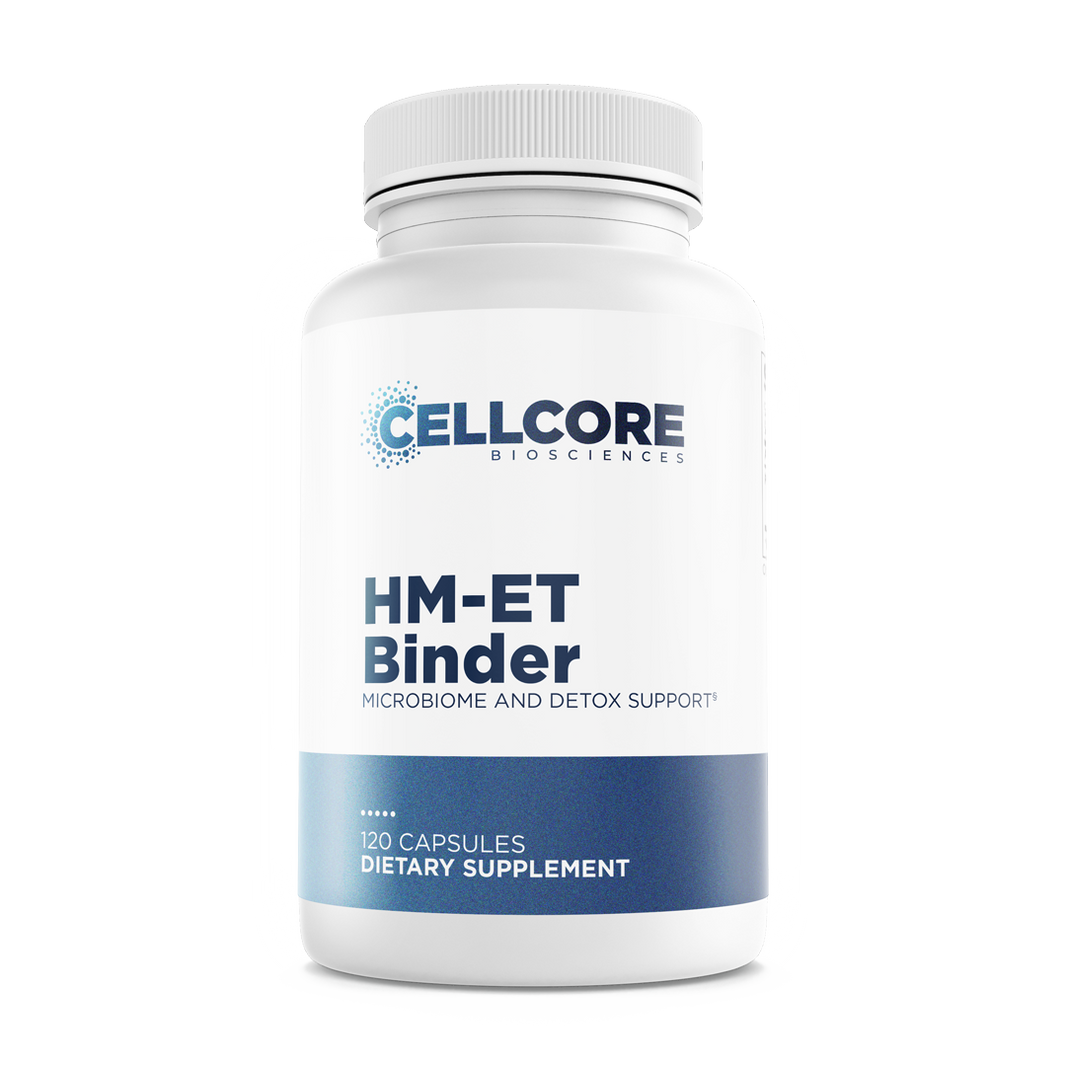
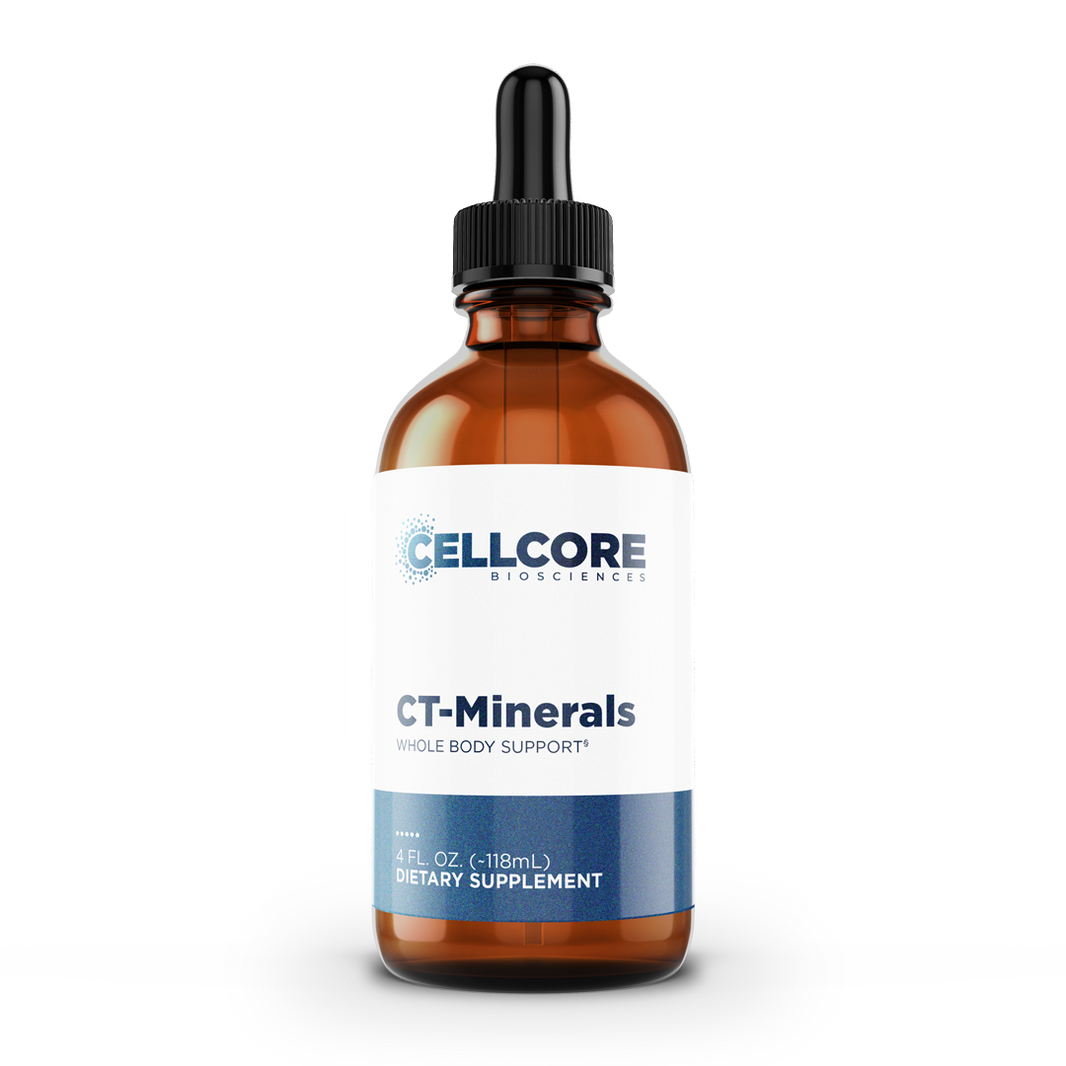
Take binders to bind up any toxins that were stirred up. My favorites are Biotoxin Binder and HM-ET Binder from Cellcore.
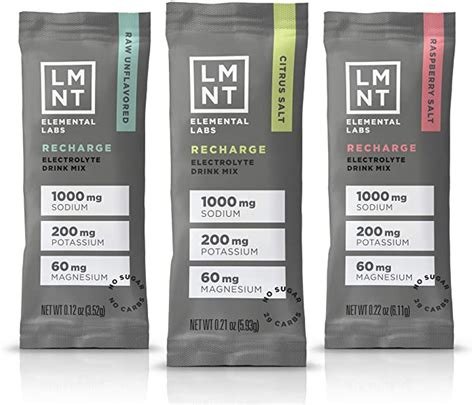
Hydrate with electrolytes.
Tips for Beginners
Start with a lower coffee concentration (as little as 1 teaspoon) and work up
Remember that you are in control of the flow – slow it down as much as you need to.
Don’t worry about holding it for the full 20-minutes the first time, just do the best you can.
Shift positions if you need to in order to make it more comfortable – switch sides, lay on your back, or bring your knees to your chest.
Ways to Save Time
Only heat up half the water when making the solution — pour the other half in once the coffee is brewed to cool it down faster
Place coffee solution in refrigerator to speed up cooling
Set up your equipment while waiting for the coffee solution to brew or cool down
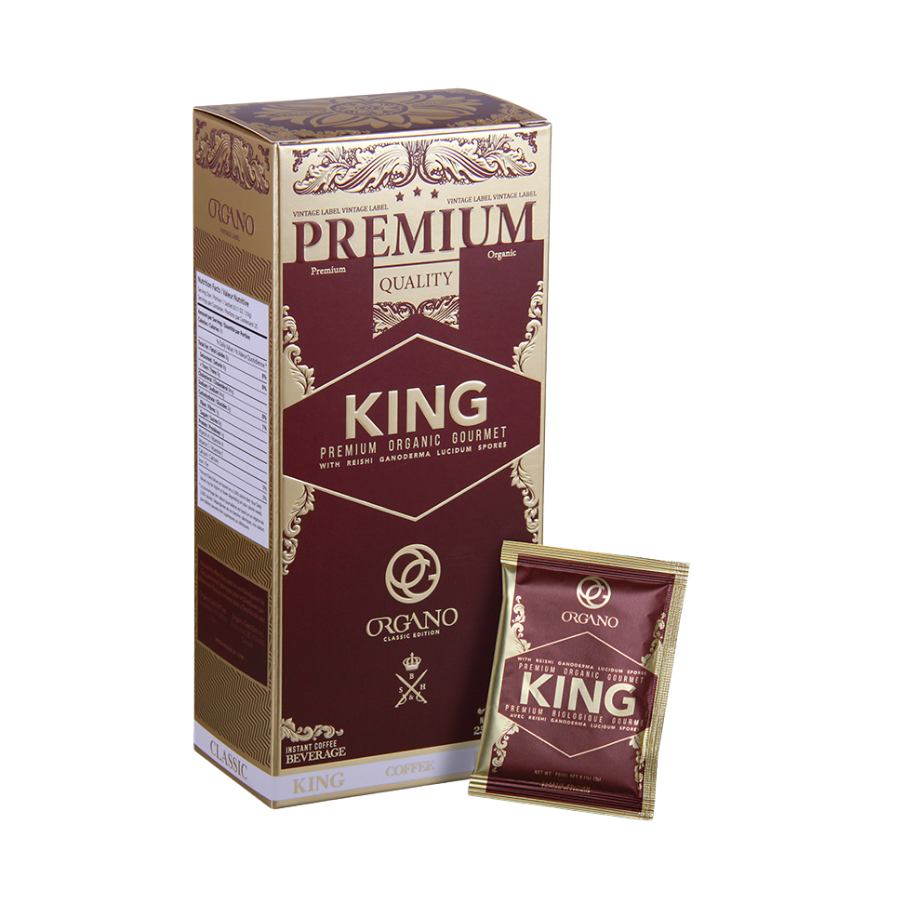
Use Organo King Coffee – it greatly cuts down the prep time since it does not require steeping
Administer the entire solution at one time instead of splitting it into two (if this is too much volume for you, you can prepare only half the solution)
Troubleshooting Tips
Difficulty Holding
Add molasses
Make sure the coffee solution is body temperature
Wait to do enema until after you’ve had a bowel movement
Do a water enema beforehand to ensure bowels are empty
Take deep breaths or pant to ease pressure if it becomes intense
Use a lower coffee concentration
Massage abdomen in a clockwise direction or gently pump liver area
Insert enema tip further into rectum (8” or so)
Feel Worse After
Make sure you are taking binders after performing the enema
Retain the enema for a shorter period of time
Use a lower coffee concentration
Increase electrolyte intake after
Do a water enema after to help remove any remaining toxins or coffee solution
Unable to Fully Expel
Increase water & electrolyte intake before and after enema – this is usually a sign of dehydration
Perform a water enema after to help expel any remaining solution that wasn’t absorbed
Coffee & Equipment Recommendations
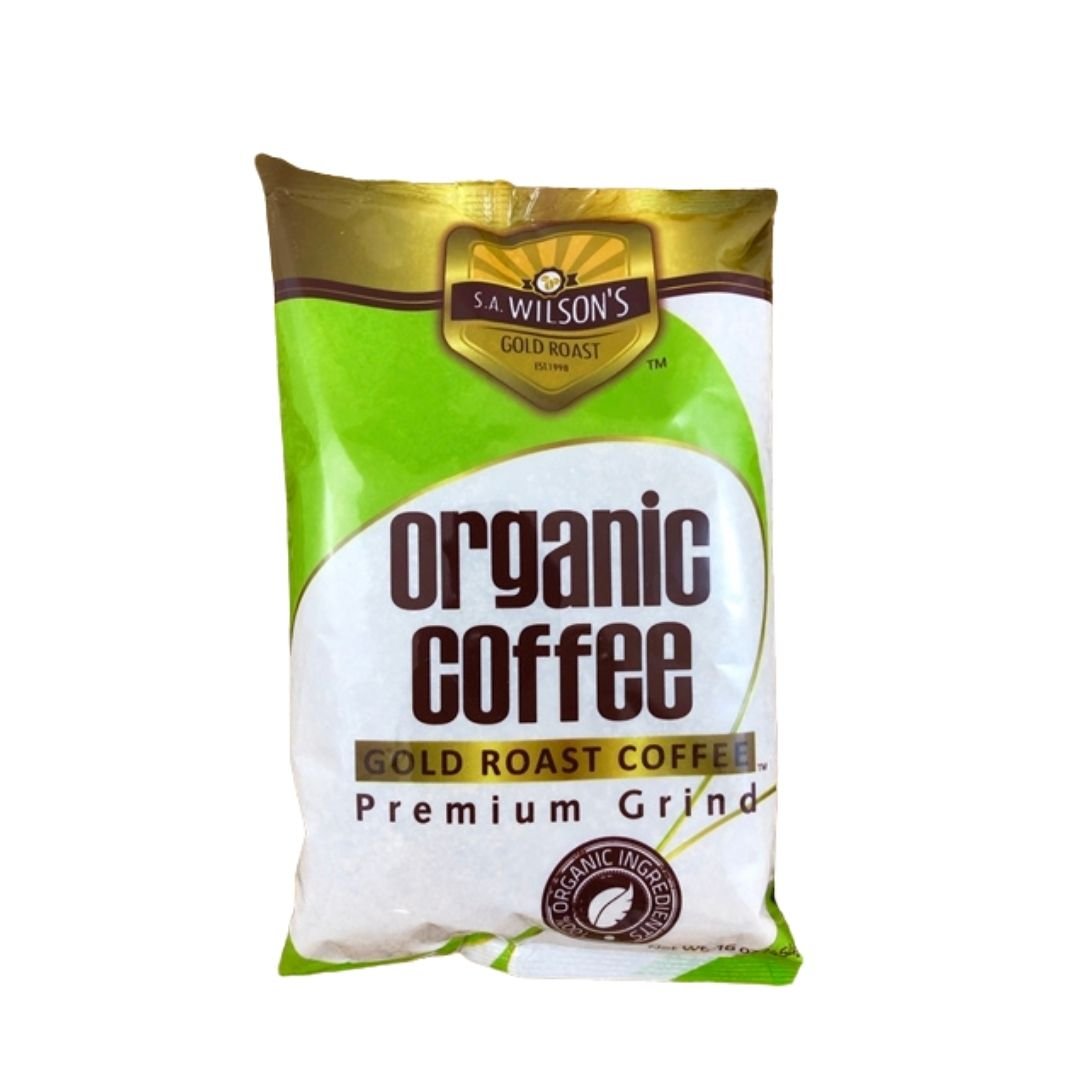
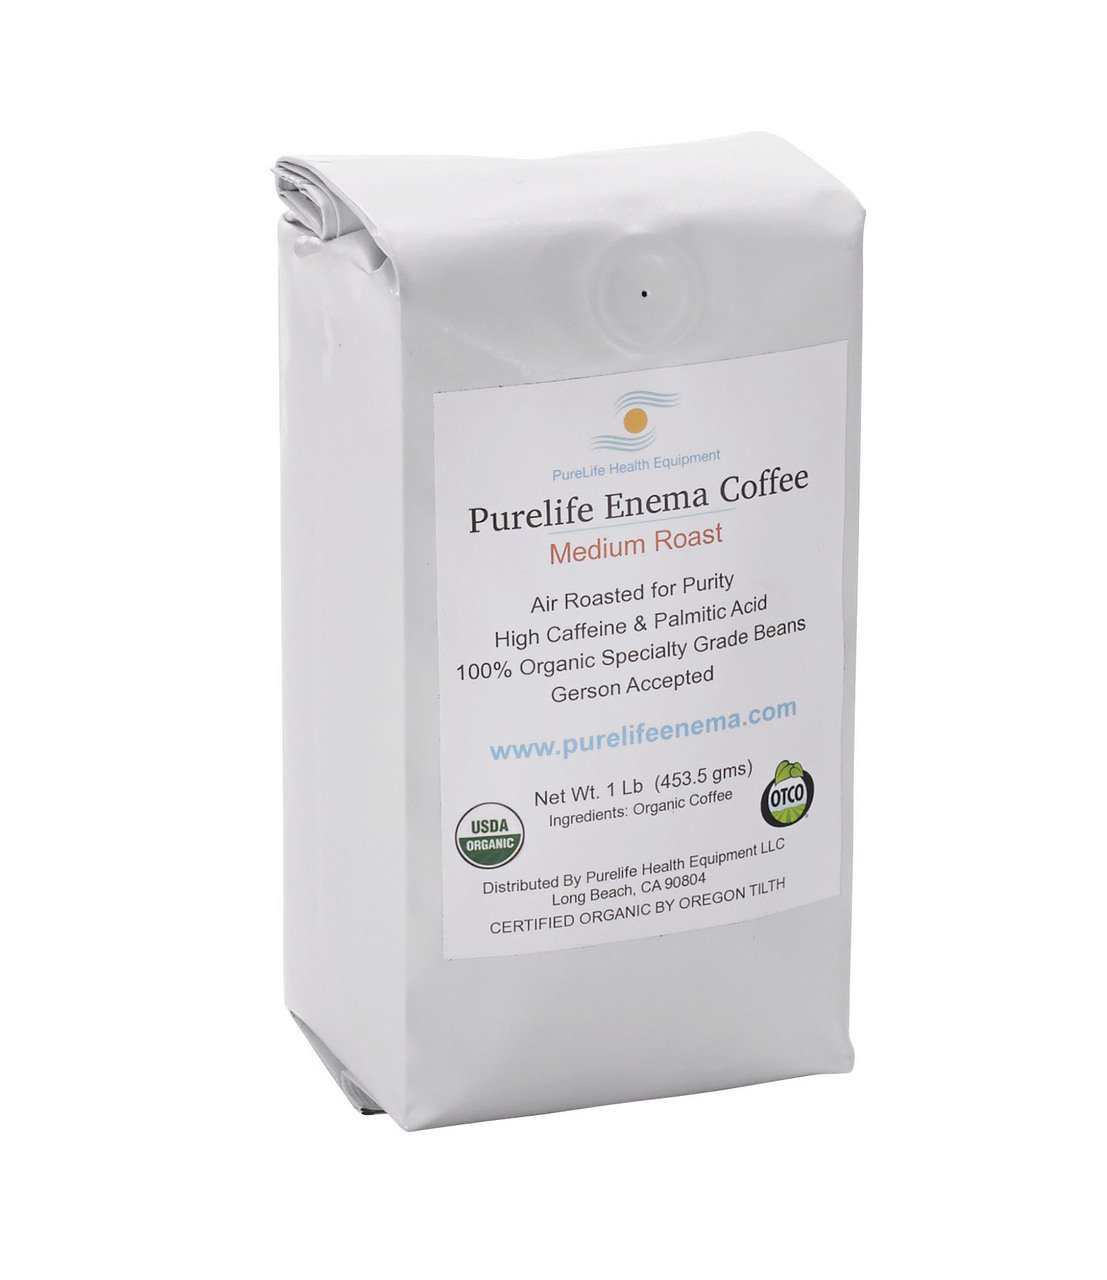
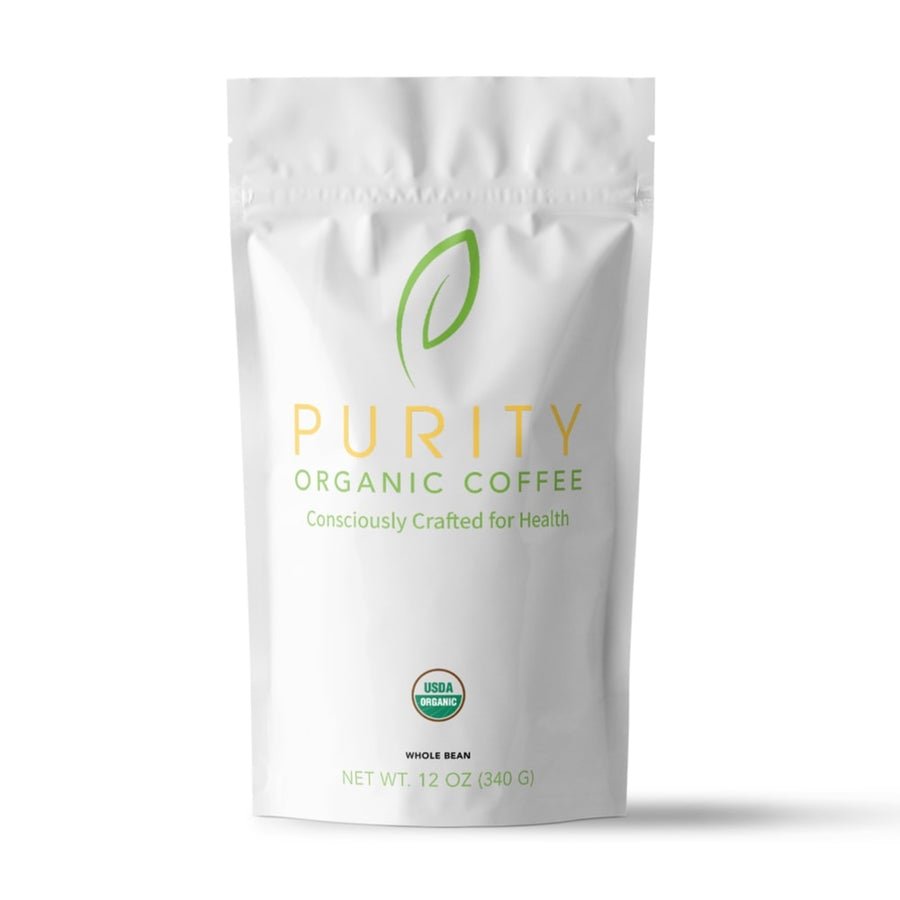
Choosing a Good Enema Coffee
You will want to choose a high-quality, organic coffee for your enema to avoid being exposed to mold, pesticides, and other contaminants. There are many great brands designed specifically for coffee enemas with this criteria in mind. Here are a few of my favorites:
Disclosure: This blog post may contain affiliate links, which means if you purchase something through the link, I will receive a small commission from the sale at no additional cost to you. I only recommend products that I myself use and love. Thanks for your support!
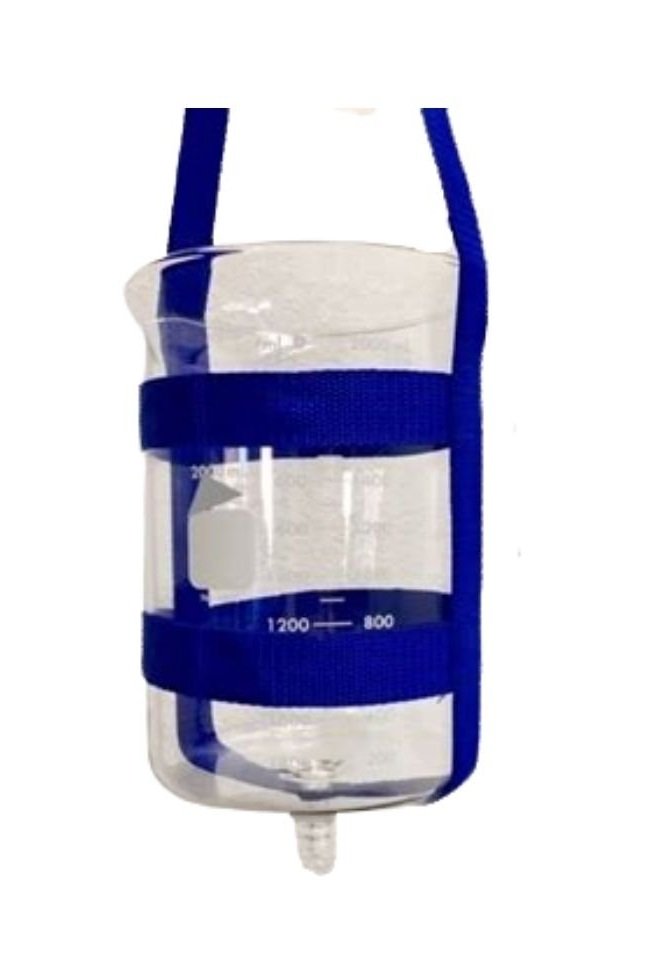
Types of Enema Kits
Because of the many options available, many of my clients have trouble deciding what type of enema kit they should purchase. This really comes down to personal preference, so let’s look at some of the differences between the two primary options: the bag and the bucket.
Enema Bag
Generally made of silicone
More difficult to clean
Can store in small spaces
Often cheaper
Enema Bucket
Option of glass, stainless steel, or plastic
More difficult to use — most have a side spigot that requires tipping it to get all the solution out
Can be more challenging to hang and store due to bulky shape
Can’t see how much solution you have left (stainless steel)
Easily broken (glass)
Here are some great options that I often recommend to my clients:
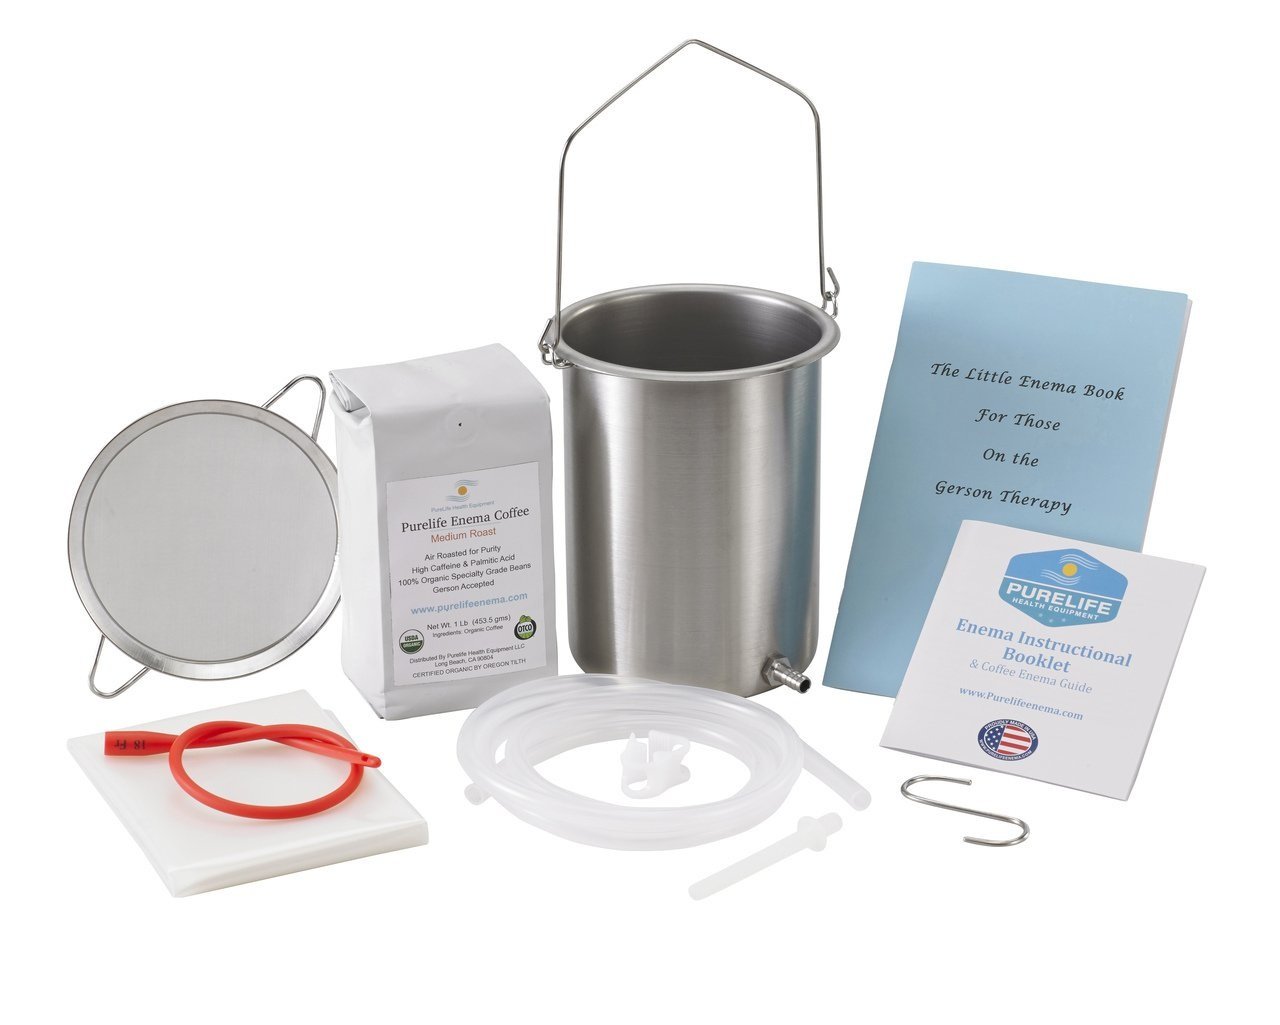
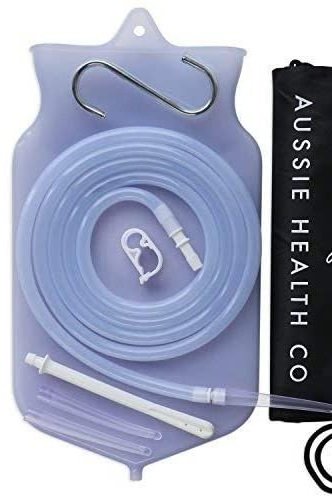
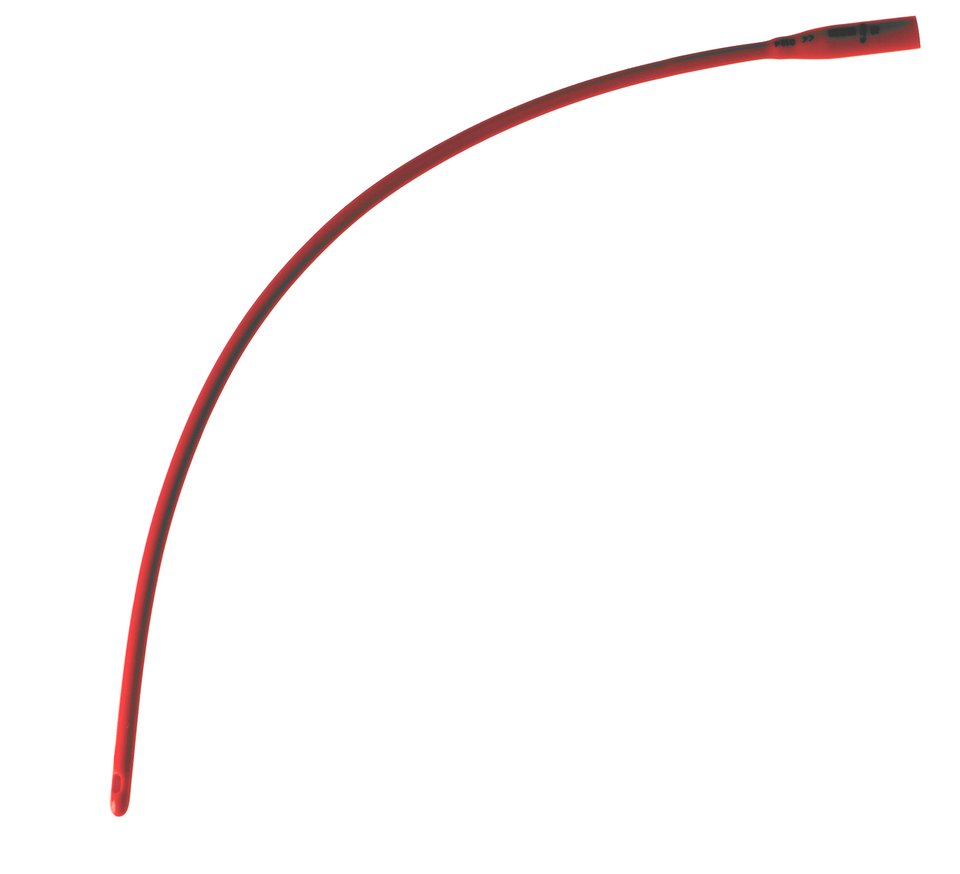
Other Helpful Equipment
Besides the coffee and enema kit, you’ll want to invest in a separate enema tip attachment. Most enema kits come with stiff, bulky, and short enema tips. I recommend the Purelife 16” Colon Tube - it is comfortable, easy to insert, and can reach far enough in. It comes with the Purelife “All You Need” Enema Kit, but you can also purchase it on it’s own and use with whatever kit you have. I will link it below with some other items that I use to prepare my enemas.
Binders and Electrolytes
After doing an enema, it is important to bind up any toxins that were released from the liver and replenish any electrolytes that were lost. Below are some of my favorite binders and electrolytes to take after an enema.
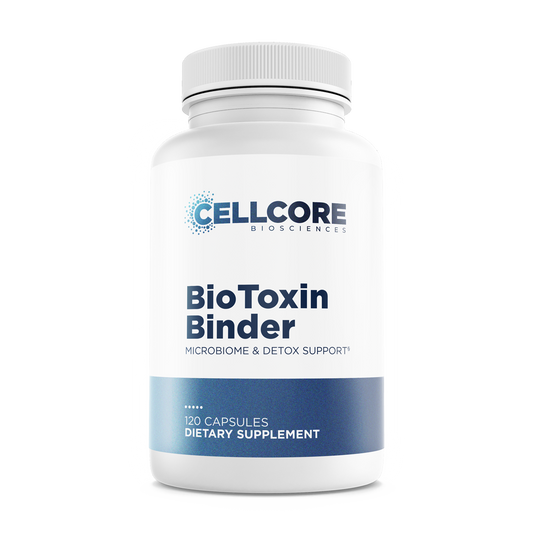
Please reach out via my Contact page for Cellcore registration code!
You can also make your own homemade electrolyte drink with filtered/distilled water, sea salt, and lemon or lime juice. Coconut water and organic fruit juices are also great sources of electrolytes!
Ready to try a coffee enema? Get my printable PDF instructions here
Have more questions? Ask them below or through my Contact page!
Disclaimer: The information on this site is intended for educational purposes only. It is not medical advice nor is it intended to prevent, treat, diagnose, or cure any medical condition. It is encouraged that you consult with your physician before implementing any dietary, supplement, or lifestyle changes. The statements made here have not been approved by the Food and Drug Administration.